 Adobe Community
- Home
- After Effects
- Discussions
- Tracking Clone Stamp RELATIVE to Motion Tracking P...
- Tracking Clone Stamp RELATIVE to Motion Tracking P...

Copy link to clipboard
Copied
Hi everyone! I am editing a macro shot of a prop that is suspended by a fishing wire. The wire is tied around the prop and I need to remove it. I cloned out the wire and it looks great, but now I need to animate the clone stamps (there are 18) to follow a pretty straightforward pan. There are no tracking markers or anything like that, but I managed to track it somewhat - it lost it over time, but I fixed it manually. The tracking point and the location of the clone stamps are in different parts of the image. I think what I need to do is apply the tracking data to both the Clone Position and also the Position attributes of each clone stamp, but every time I try to do this, it moves the clone stamp to the location of the tracking point. I'm guessing there has to be a way to do this, but I can't find any answers for this kind of case scenario - all the videos I have found focus on clone stamping on top of the tracker. I tracked it in AE, not mocha, but I can certainly do that - I just have no idea how to make this happen and I have to do this a LOT more over the course of this project. If anyone could point me in the right direction, I would appreciate it. Thanks!


 1 Correct answer
O.K. actually in this case because of all the light shifting, cloning is a nice option. I normally do this differently but for practice sake let's go for it.
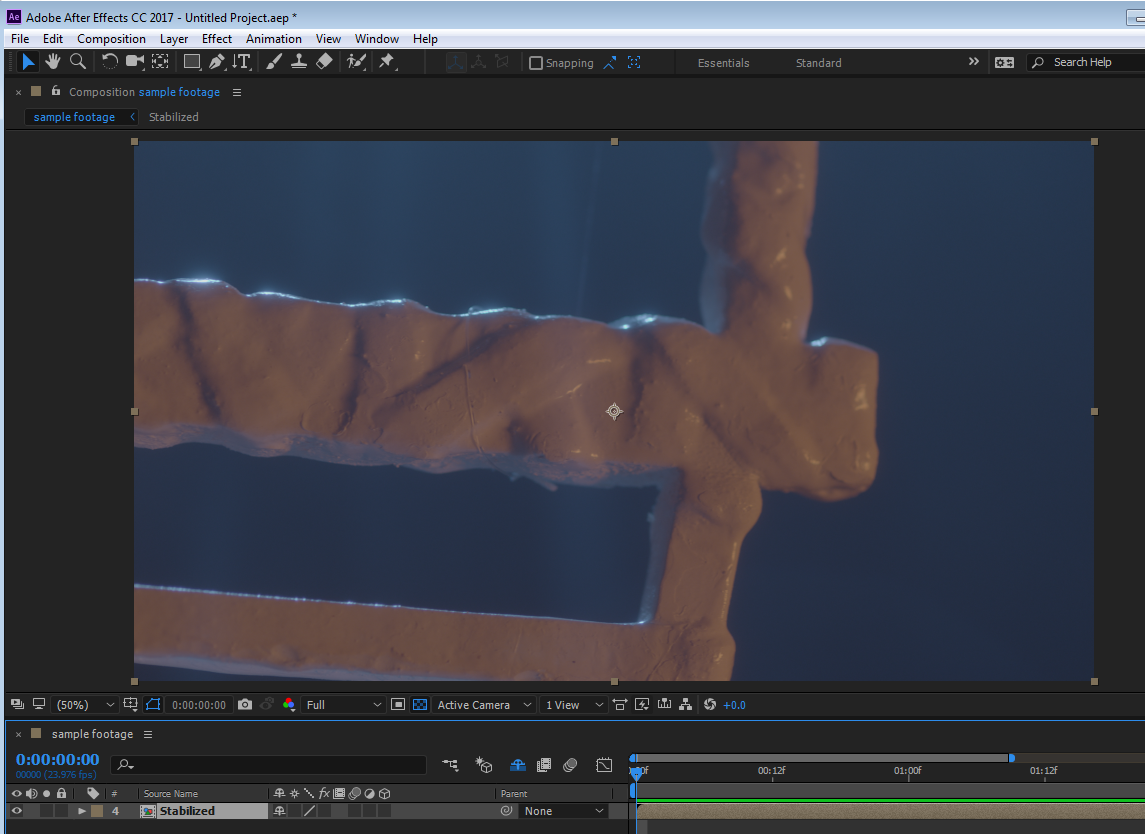
first thing you should do is stabilize the shot. I tracked this attach point. you could find better.

once it's stabilized, I pre-comp the stabilized shot ->move all attributes
here I will do my cloning
once I pick my clone tool and click twice on my pre-comp, I can clone stamp what I need. make sure you got "lock source time" OFF.
these are my
... 13
Replies
13
13
Replies
13
Copy link to clipboard
Copied
I cloned out the wire and it looks great, but now I need to animate the clone stamps (there are 18) to follow a pretty straightforward pan.
it's very important to establish the right roto workflow that is fit to the task even before you start cleaning it up. personally I almost never use the clone brush tool for replacing or cleaning my footage. let's start by first seeing the footage - this will help us suggest a course of action which could involve clone stamp but more often this is not the case. please upload a sample of your footage via any legit cloud service so we can take a look what you have there.
Copy link to clipboard
Copied
Is dropbox ok? I uploaded a ProRes4444 at 1080 - the source is Arri Alexa 4K log. I dealt with the wire hanging it using the simple wire removal tool, but I'm trying to get rid of the wire tied around it as circled in the attached photo. Thank you!

Copy link to clipboard
Copied
something wrong with your link 
Copy link to clipboard
Copied
hahahahahaha oh no that was in my clipboard (I was texting it because it's hilarious) and the dropbox link didn't copy.
Here! hahahahahahahahaha.
Copy link to clipboard
Copied
the clipboard can get you. but at least it's not something embarrassing! lives have been surely ruined by our good old friend.
Copy link to clipboard
Copied
O.K. actually in this case because of all the light shifting, cloning is a nice option. I normally do this differently but for practice sake let's go for it.
first thing you should do is stabilize the shot. I tracked this attach point. you could find better.

once it's stabilized, I pre-comp the stabilized shot ->move all attributes
here I will do my cloning

once I pick my clone tool and click twice on my pre-comp, I can clone stamp what I need. make sure you got "lock source time" OFF.
these are my settings:
(never mind the "offset" parameter - it is set from where I picked my source point).

when I finish my clone stamping, it looks like this:

now I duplicate my layer once. set the duplicate that's on top to "on transparent" in the paint effect (it will use the layer below as a source). I will remove the effect from the layer below. like this:

let's give them names so it will be easier to understand what's going on. Clone for the clone on transparent, source for it's source layer

now hear this - I am going to duplicate the source layer once more

- and put it below the original source layer like this

I will change it's name to background. almost done! now I have to reintroduce the motion... I need a null for that, I create my null, expose it's position

I will take the anchor point position from my stabilized precomp (reminder - they are all the same so just click one of the precomps twice)
Copy

Paste

connect my layers to the null

Magic time - set collapse to the background layer

enjoy my achievement in the field of clone stamping

We did it! Native all the way and even without expressions 
Copy link to clipboard
Copied
That looks amazing. Thank you so much! I'll be looking deeply at this Monday. Really, I can't thank you enough.
Copy link to clipboard
Copied
Sure! Let us know how it goes.
one last thing: you can actually set the visibility off for the source layer, since it's only purpose is to be a source for the clone layer (not so straightforward, I know...). the referencing for the source layer is inside the clone effect so it doesn't really have to be below the clone stamp layer... just thought it's worth mentioning as I am trying to memorize this myself too for next time 
Copy link to clipboard
Copied
Hey! I am embarrassingly having trouble with the first step. I went through everything and it failed when it came time to attach the anchor point. Can I ask how you stabilized the shot?
The way I stabilized was by going into the tracker and choosing stabilize motion, then I tracked it, hit apply, and chose the Y coordinate. The resulting parameters under my tracker do not include anchor point. They do include an anchor point under the transform parameter of the general motion trackers heading - and it's animated, but only on the y coordinate, so I'm thinking that can't be right. If I stabilize using x and y, it throws the whole frame off, I'm guessing because it's trying to keep my attach point still.
I'm thinking this is basic stuff, and I don't want to waste your time, but if you could tell me how you tracked and stabilized, I would appreciate it.
Thanks again!
Copy link to clipboard
Copied
then I tracked it, hit apply, and chose the Y coordinate.
Choose X+Y. you want to stabilize both.
If I stabilize using x and y, it throws the whole frame off, I'm guessing because it's trying to keep my attach point still.
that's right, it's supposed to do that. you are basically saying - make this point still. so everything around it has to move to compensate for the movement in order to keep it still. keep following the steps. it's intermediate level stuff so if this is the first time you tracked a footage it's could seem complicated. try to stay on course in the exact way described.
here's the project file but don't cheat!: CloneStamping.aep - Google Drive
Copy link to clipboard
Copied
Thank you so much - because of deadlines we have another person working on this from your instruction, but as soon as she finishes, I'm going to go over it all with her. She knows more about AE than I do, but you have really given me such great information to learn from and I can't thank you enough. I will let you know when it's resolved and when I can do the thing myself. And we didn't cheat!
Copy link to clipboard
Copied
Great! glad to help. I actually used this exercise to practice clone and figured a few stuff for myself too in the process so thanks for the challenge.

Copy link to clipboard
Copied
Hi there, I have been attempting to do the same thing, but I too do not see the Anchor Point either. I also downloaded the project file and when viewing it, it also doesnt have that parameter. Any help would be great-fully received.
Thanks
Dave

 AdChoices