Hi you could try this
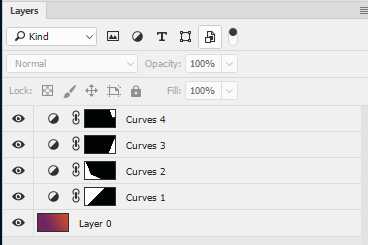
Make a layer with a gradient from orange to purple.

Make a selection (using the polygonal lasso) in the shape of the area to be changed and then add a curves adjustment layer. The adjustment layer will automatically have a mask in the shape you selected.
Adjust the curve to slightly darken or slightly lighten the image below.
Repeat for the other shapes

Dave


 4
Replies
4
Replies


 AdChoices